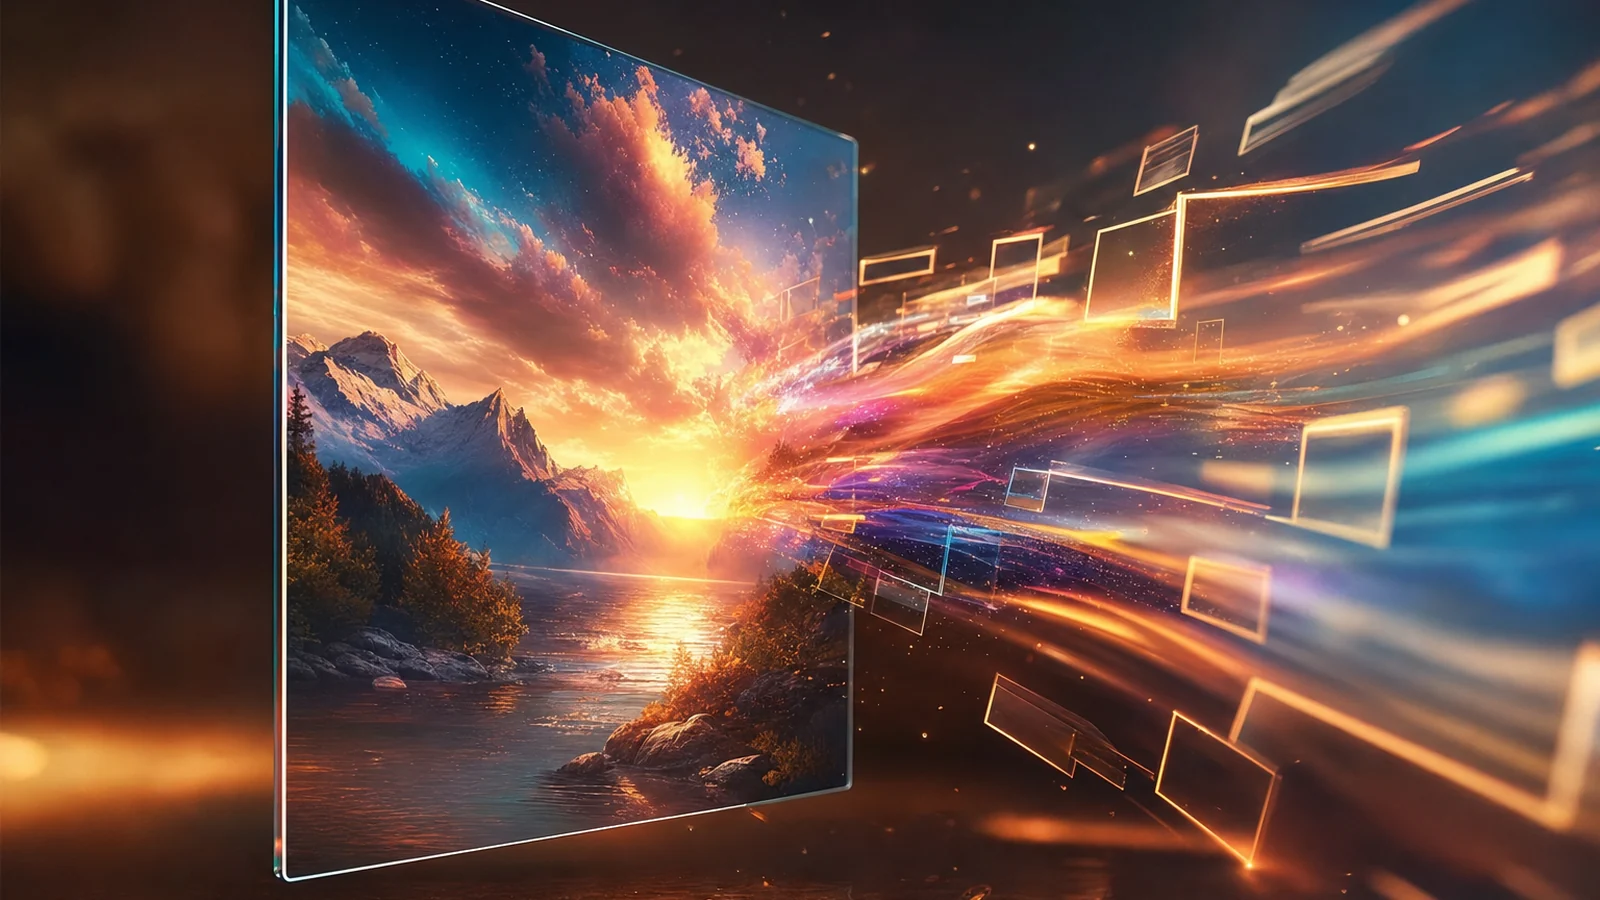
Image-to-video is the feature that quietly changed AI content: feed a model a single picture, get back a moving clip. It works on anything — a photo, a piece of AI art, a product render, a design — which is why “image to video AI” is now one of the highest-volume searches in the entire space.
This guide explains how AI image-to-video generators work, whether the free ones are good enough, and a clear step-by-step for turning your images into video.
What an AI image to video generator does
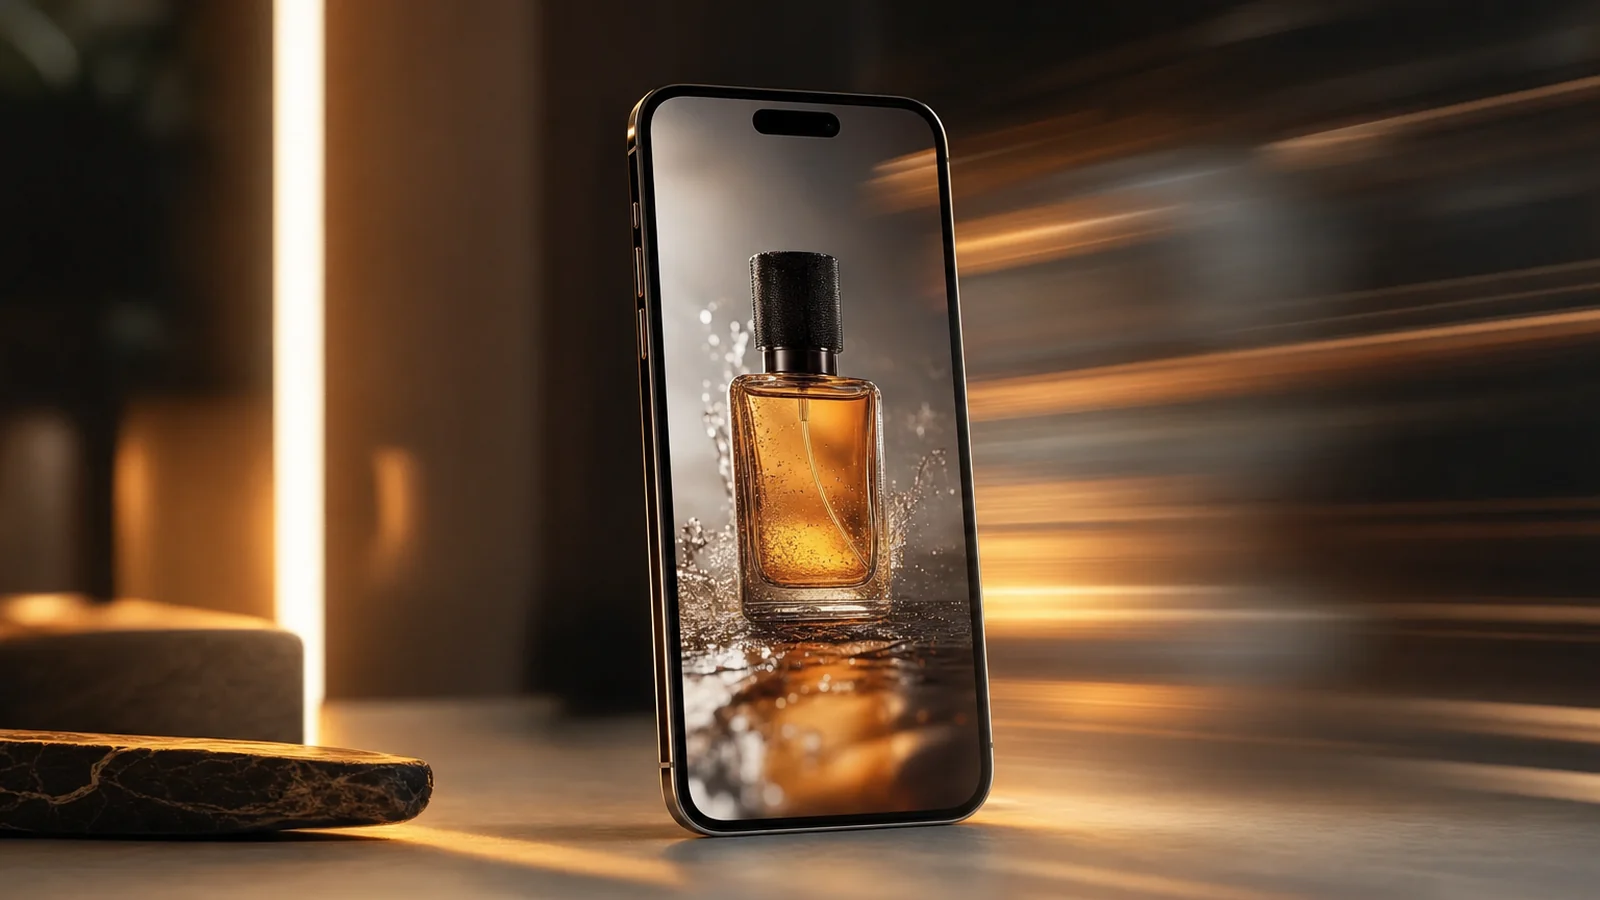
It takes one still image as the first frame and generates motion from it — the subject moves, the camera drifts, the scene comes alive. Unlike text-to-video, which invents a scene from a description, image-to-video starts from your exact image, so what’s on screen is what you put there, not an AI guess.
That control is the whole point. You decide the subject; the AI only handles the motion. The output is a short clip — usually a few seconds — that you can post, loop, or drop into a longer edit. And because the input can be any image, it’s as useful for animating AI-generated art as it is for a real photo.
Free AI image to video generators (the reality)
Search “image to video AI free” and you’ll find a wall of options — Canva, Adobe Firefly, Pollo, Veed and a dozen others all advertise free image-to-video. They’re real, and for a quick test they’re fine. But the free tier has a consistent shape:
- Watermarked output you can’t use commercially.
- Lower resolution and shorter clips.
- Caps on how many you can make, often behind a sign-up.
- Usually one model and no audio.
So “free AI image to video” is genuinely useful for trying it out — just expect a watermark until you upgrade. Test the quality on your kind of images first, then move to a paid plan when you need clean, owned clips.
How to turn an image into video, step by step
Here’s the walkthrough, then the steps:
1. Upload your image
Use a clear, high-quality image — a photo, an AI-generated picture, a product shot, a design. A clean subject on a readable background animates far more reliably than a busy one.
2. Describe the motion
This is the decisive step. Tell the model what moves and how: “slow zoom in,” “the subject turns,” “gentle camera pan,” “the product rotates.” Keep it to one simple, believable motion — over-ambitious prompts distort the image.
3. Pick a model and length
Match the model to the subject — realistic engines for people and products, stylised ones for creative art — and keep clips short (3–6 seconds) for clean, loopable motion.
4. Generate and iterate
Run it, judge the motion, and if something distorts, adjust the motion description (not the image) and regenerate. Two or three takes per clip is normal.
5. Export
On a paid tier, export clean and watermark-free with a commercial license — essential for anything you publish or sell.
Image-to-video vs photo-to-video vs text-to-video
The terms overlap, so here’s the clean split:
- Image-to-video — animate any image, including AI-generated art and designs. The broadest case (this guide).
- Photo-to-video — the same idea, focused on real photos (portraits, old photos, products). See our dedicated photo-to-video guide.
- Text-to-video — no image at all; the AI invents the scene from a description. Covered in our text-to-video tutorial.
Most creators use all three: text-to-video for net-new scenes, image-to-video to animate something they already have.
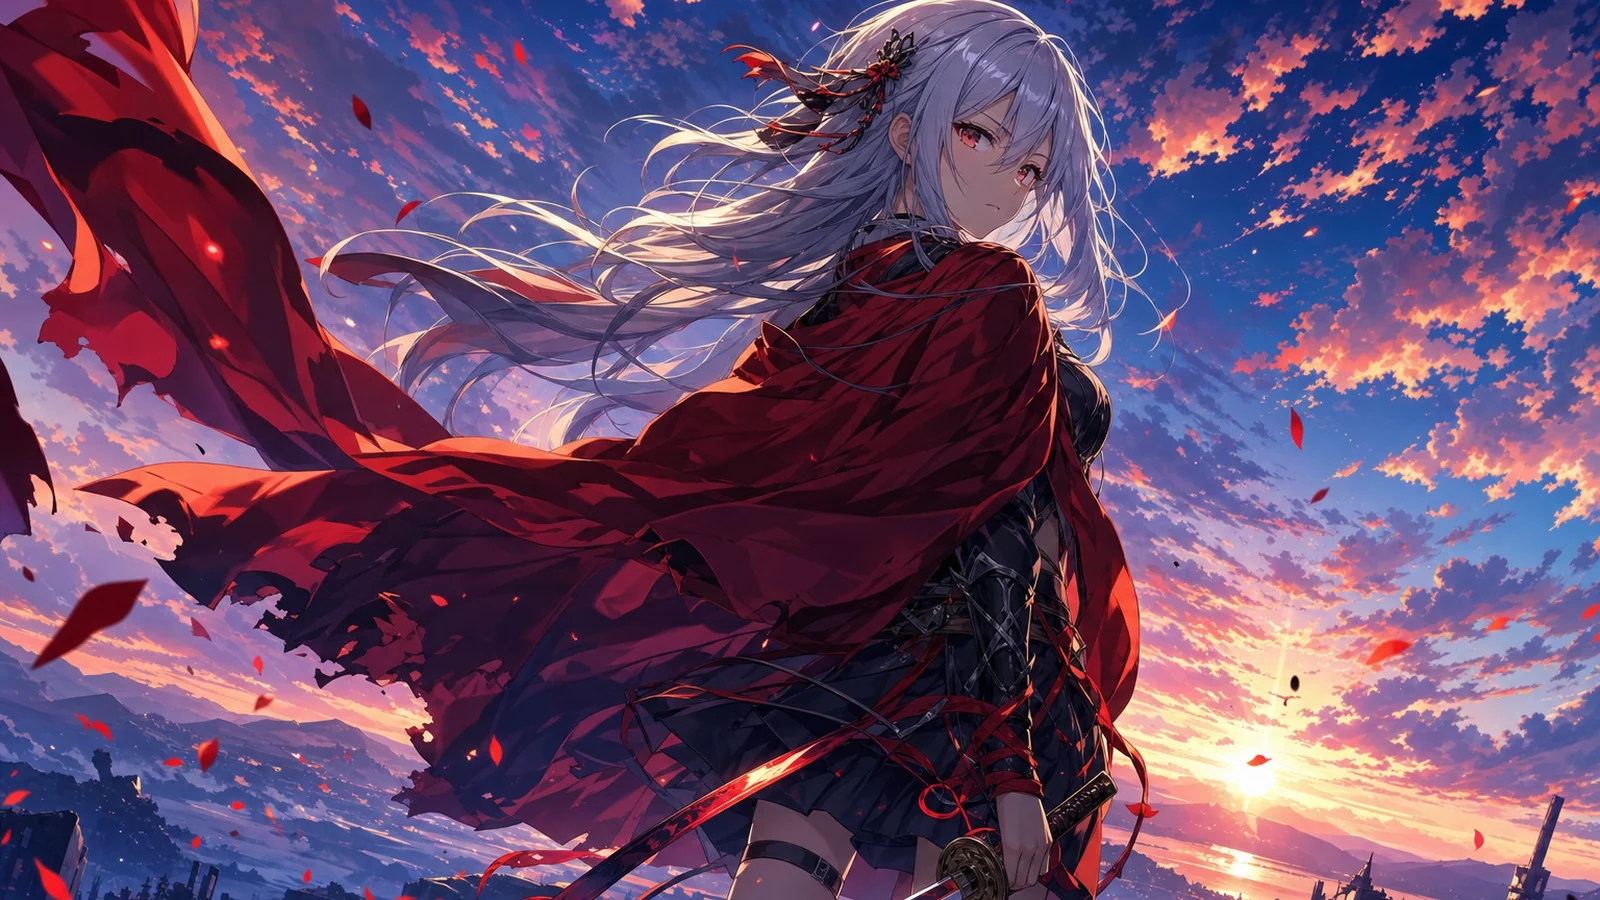
What images work best (including AI-generated)
- AI-generated art — animate a Nano Banana or anime image into a moving clip. A huge unlock for creators.
- Product shots — a clean rotation or reveal turns a catalogue image into an ad.
- Portraits — a smile, a turn, a blink for profile content.
- Landscapes — a slow pan or parallax for cinematic depth.
- Designs and illustrations — bring a flat graphic to life with subtle motion.
Free vs paid: the real difference
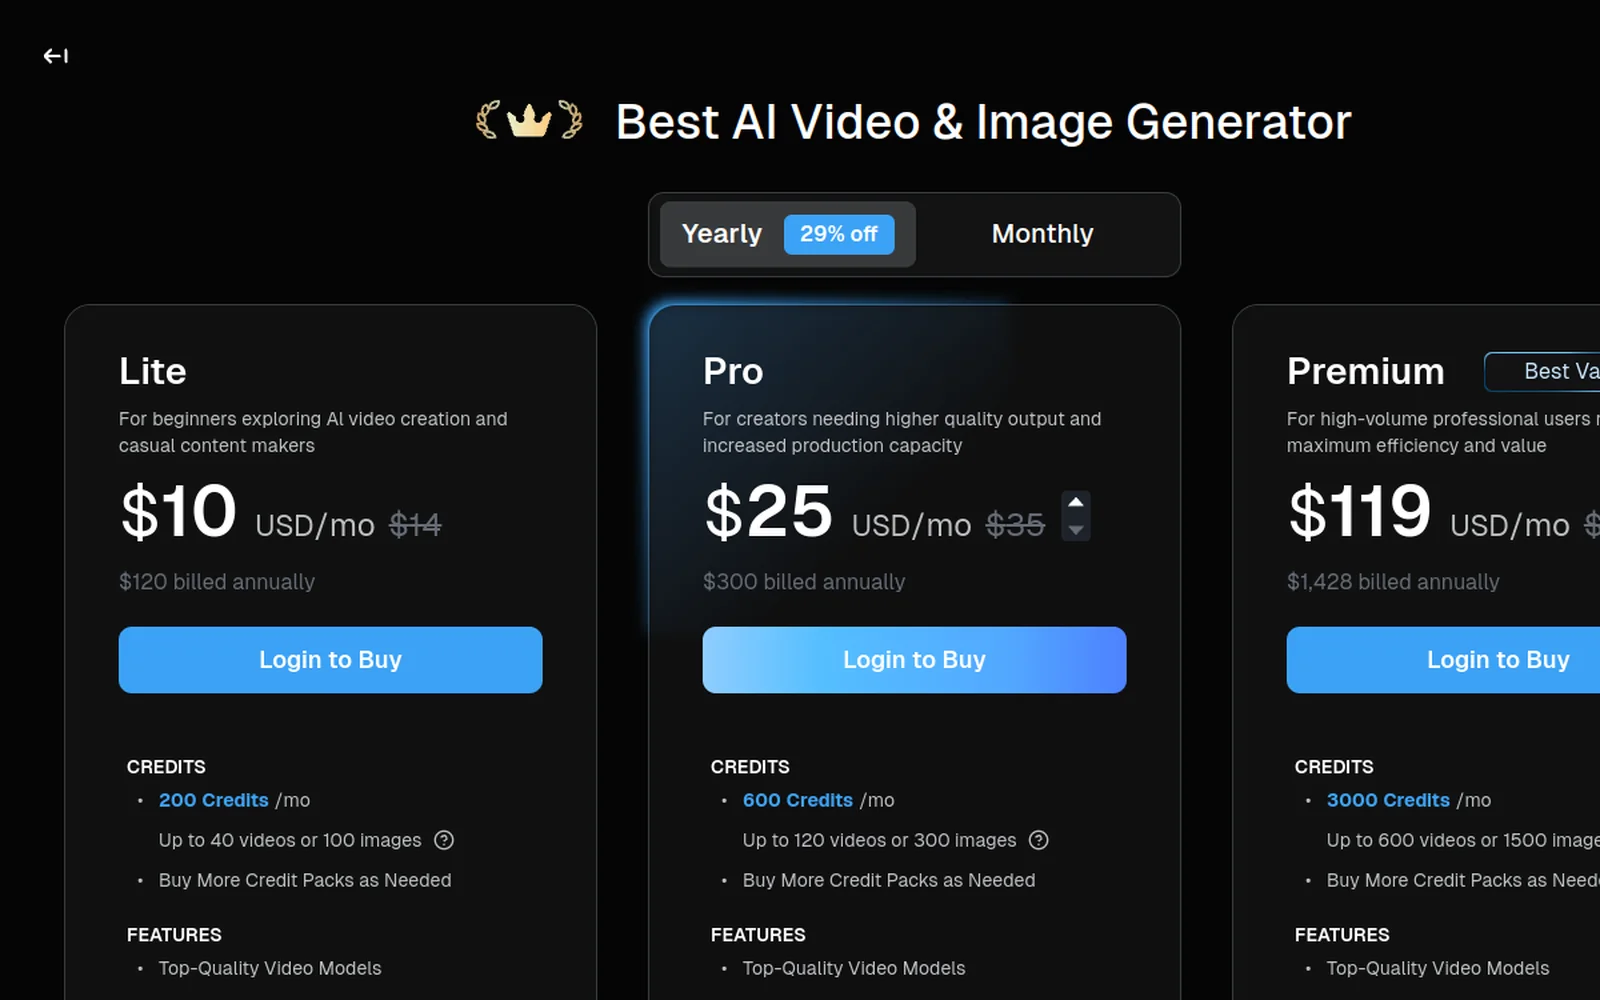
The gap isn’t only the watermark. Paid plans give you multiple models (match the engine to the image), higher resolution and longer clips, bundled audio so the clip is finished in one place, and a commercial license. On Deevid that starts at $10/month — cheaper than many standalone video tools and broader than animation alone. Free for testing, paid for publishing — the same logic we apply to every tool in our pricing guide.
Which AI model makes the best image-to-video?
There’s no single “best” — the right engine depends on the image and the motion you want, and this is where the tool you choose really matters:
- Veo 3.1 / Sora 2 — top-tier realism and coherent motion, best for people, products and cinematic camera moves. Higher cost per clip.
- Kling — strong on stylised and character motion; a favourite for social and creative work.
- Pika — quick, punchy short clips.
- Seedance — fast, practical iteration for everyday content.
The catch with single-model tools is that you’re locked to one engine’s strengths and weaknesses. This is the real argument for an aggregator like Deevid: it carries 14+ models, so you can run the same image through different engines and keep the best result — realistic for a product, stylised for art — without paying for several subscriptions. We dig into that bundled approach in our alternatives hub and the Deevid vs Runway comparison, where both tools now bundle multiple engines.
In practice: prototype your motion on a fast, cheap model to prove the prompt works, then re-run the winner on a premium model for the final export. That workflow gives you the quality of the best models without burning credits on every test.
Tips for better image-to-video
- Input quality is everything. Sharp images animate cleanly; low-quality ones distort.
- One motion at a time. “Slow zoom” beats “zoom, pan and dance.”
- Keep it short. 3–6 seconds loops better and warps less.
- Match the model to the image. Realistic for people and products; stylised for art.
- Iterate on the motion, not the image. If it’s off, change the movement and rerun.
Mistakes to avoid
- Animating a low-quality image. Garbage in, garbage out.
- Asking for too much motion. Big, complex movement is where faces and hands break.
- Running watermarked clips commercially. Upgrade before you publish or sell.
- Judging on one take. Generate a couple of variants and keep the best.
FAQ
What is the best AI image to video generator? One with a real image-to-video feature, multiple models, and clean export. Deevid AI is a strong pick because it animates any image and offers several models plus audio in one place.
Is AI image to video free? You can test it free on most tools, but output is usually watermarked and capped. Clean, watermark-free, commercial clips need a paid plan (from around $10/month).
Can I animate an AI-generated image? Yes — image-to-video works on any image, including AI art. Generate the picture, then animate it into a clip.
How long can the video be? Each generation is a short clip (a few seconds). Build longer pieces by animating several images and editing the clips together.
An AI image to video generator is the bridge from “I have an image” to “I have a video,” with you keeping control of the subject. Start from a clean image, ask for one believable motion, and test on the free tier before you commit — then bring your photos, products and AI art to life.